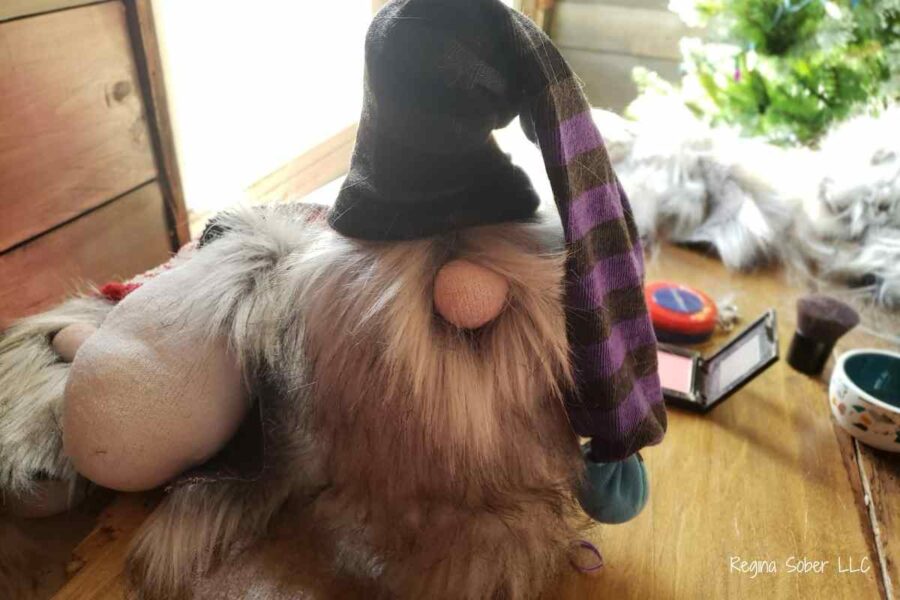
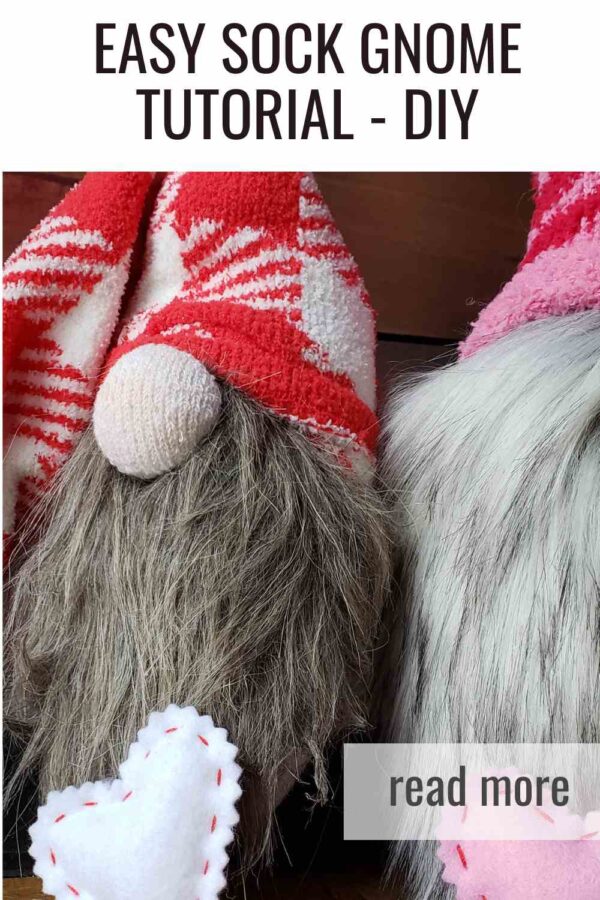
How To Make Holiday Sock Gnomes | Gift Ideas
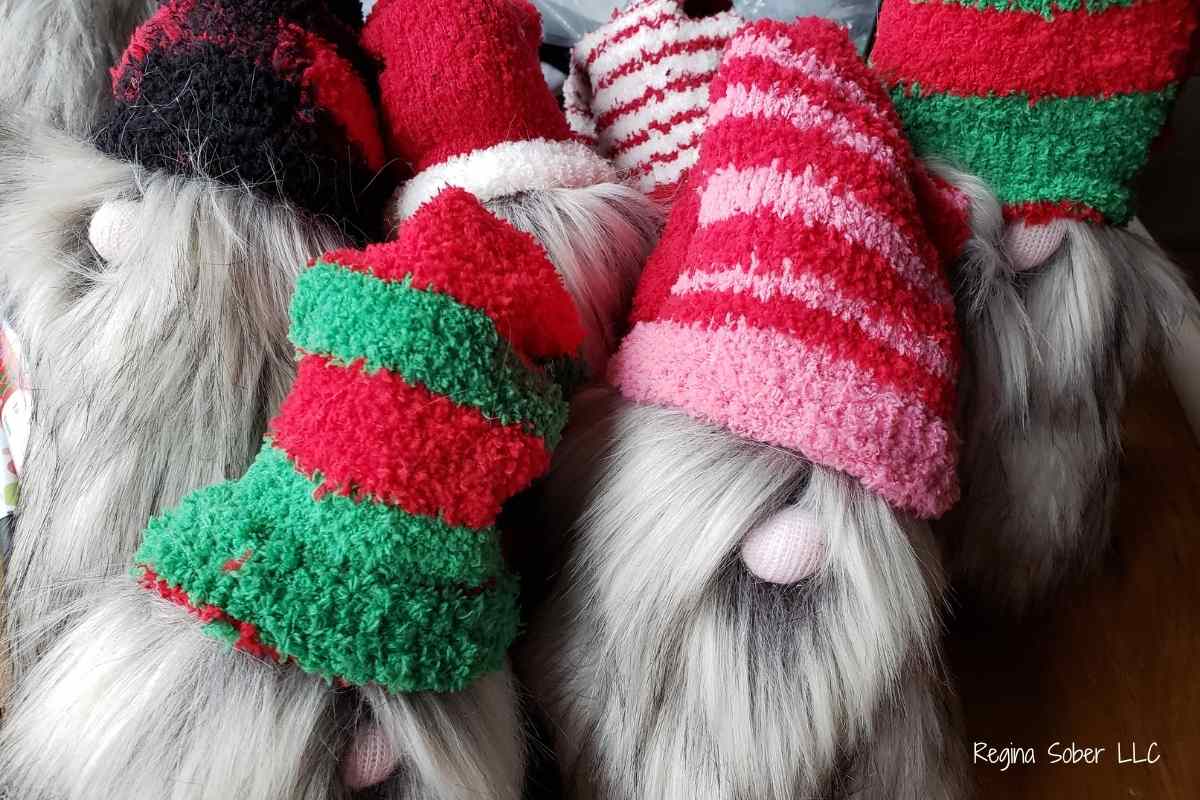
Holiday Sock Gnomes
Sock gnomes are one of the easiest and most budget friendly DIY holiday crafts you can make. They are perfect for Christmas, Valentine’s Day, Easter, St. Patrick’s Day, Sweetest Day, or any time you want a cute handmade gift. Most supplies can be found at your local dollar store, which keeps this project affordable and fun.
Kids can help with most of the steps, but be careful with the glue gun. It gets hot. We also learned that adding blush to the nose before attaching the beard works best. Always do a dry fit with the beard before gluing so you know exactly where it will sit.
The faux fur is the most expensive part of the project. Buy only what you need. A one foot wide piece made ten gnomes for us. Make sure the fur is facing the correct direction before cutting. If possible, cut the fur outside and shake it out to remove loose fibers.
We made several sock gnomes, but the supply list below is for one.
Supplies for One Sock Gnome
- Plain sock in mid length white/gray solid color sock
- Patterned sock for the hat
- Rice, 1/4 cup
- Small rubber bands, 2
- String, two 8 inch pieces
- Blush
- Glue gun with extra glue sticks
- Stuffing, 2 to 3 cups
- Scissors
- Faux fur for the beard

How to Make a Sock Gnome
Step 1. Build the Base
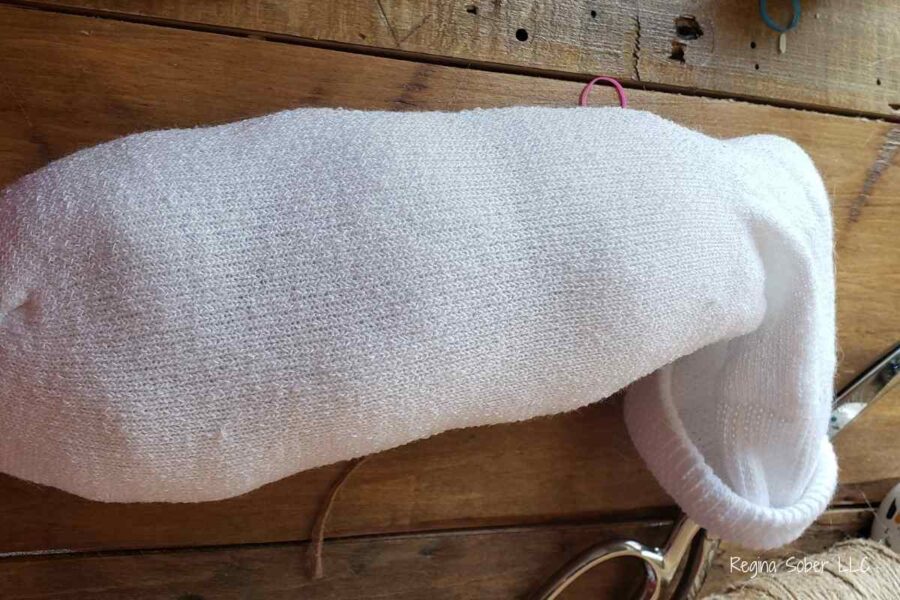
Add 1/4 cup of rice to the bottom of the plain sock. This helps the gnome stand upright.
Add stuffing on top of the rice. Reserve about a tablespoon of stuffing for the hat. Adjust the stuffing until the gnome is the height and shape you want. More stuffing makes a taller gnome and may require a longer beard.
Step 2. Create the Nose
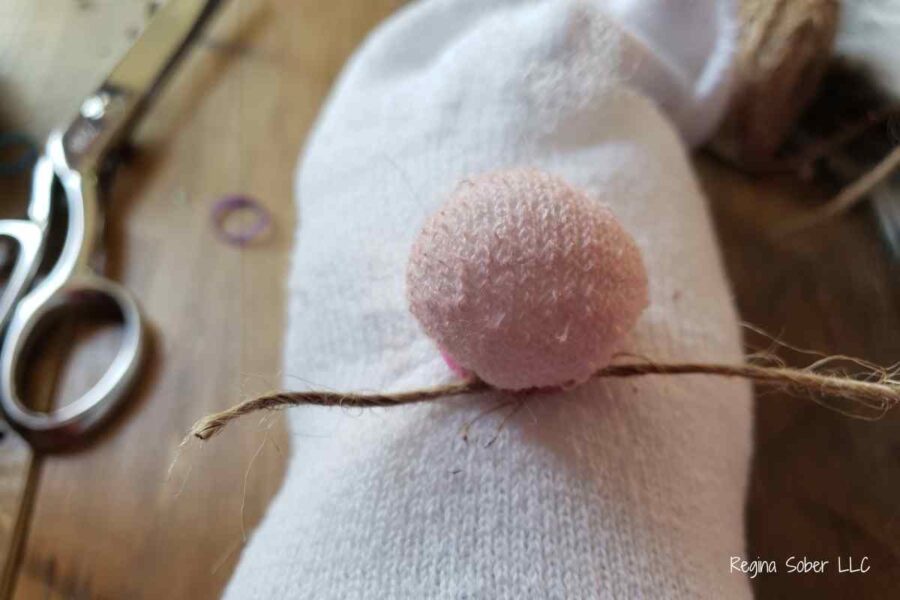
Reach into the sock and pull about a teaspoon of stuffing outward to form a nose. This should be about three quarters of the way up the sock.
Wrap a rubber band tightly around the nose. Add blush to all sides of the nose. Tie string around the nose to secure it and trim the excess.
Step 3. Close the Body
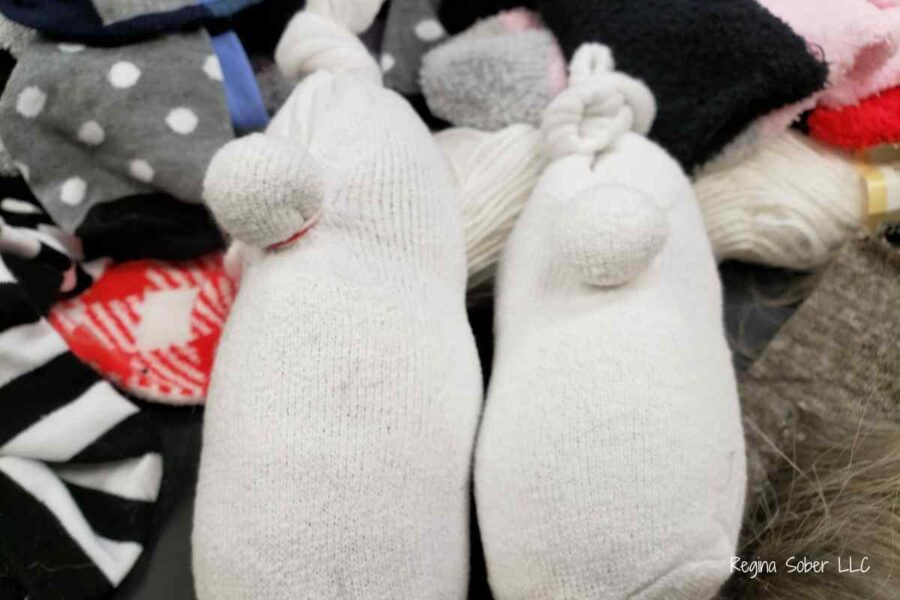
Tie a knot at the top of the sock, close to the stuffing. Trim off any extra sock if needed.
How to Cut and Attach the Beard
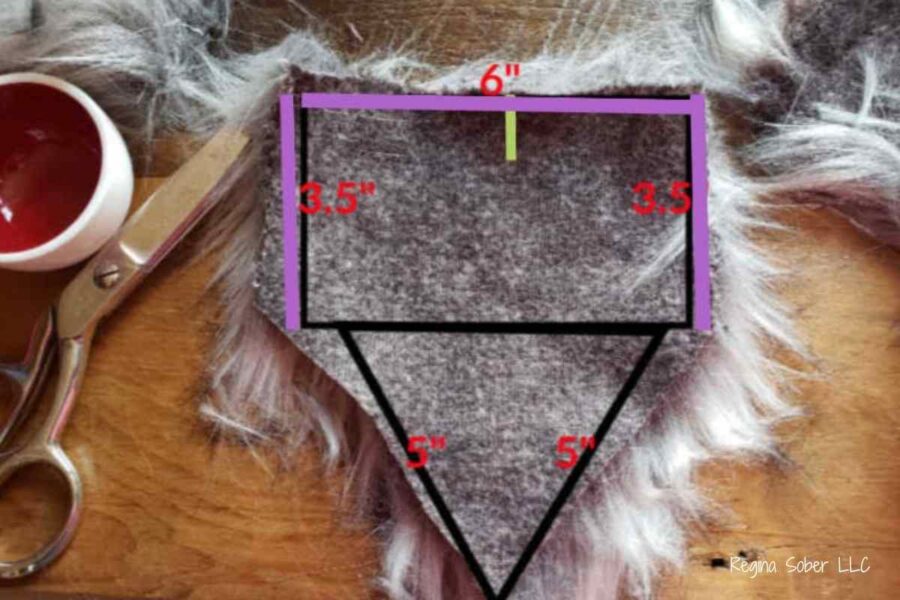
The beard is the trickiest part because faux fur sheds. The rough dimensions do not need to be perfect. Adjust the size if you are making a smaller gnome.
Important
Make sure the fur is facing downward. A beard should never be upside down or sideways.
Cut a rectangle of faux fur. Add a slit in the center of the top edge. This slit wraps around the nose.
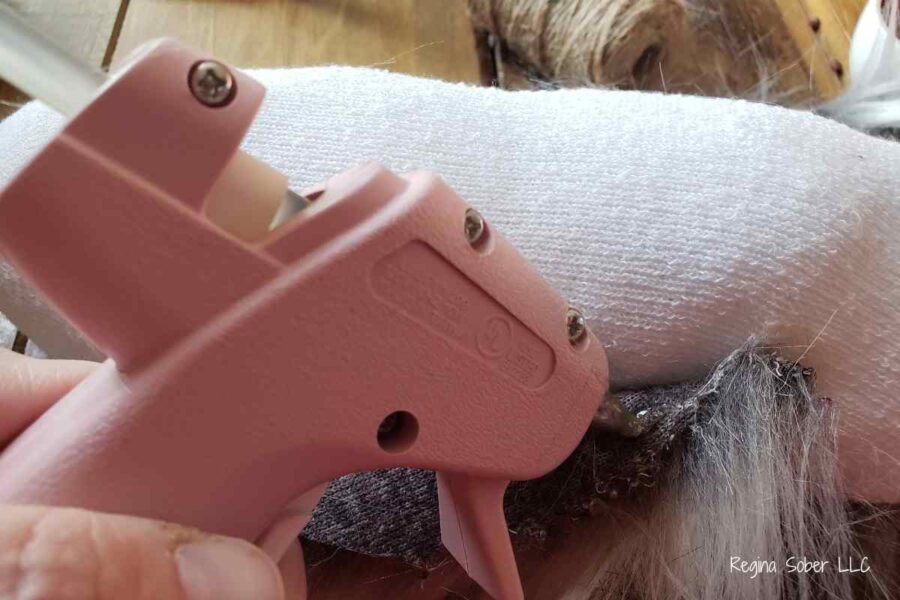
Do a dry fit before gluing. Place hot glue on the flat edges of the beard and wrap it around the nose. Glue one side, then overlap the other slightly. Glue the remaining flat edge down.
5 easy homemade gifts for Christmas
Finishing Your Holiday Sock Gnome
Step 1. Make the Hat
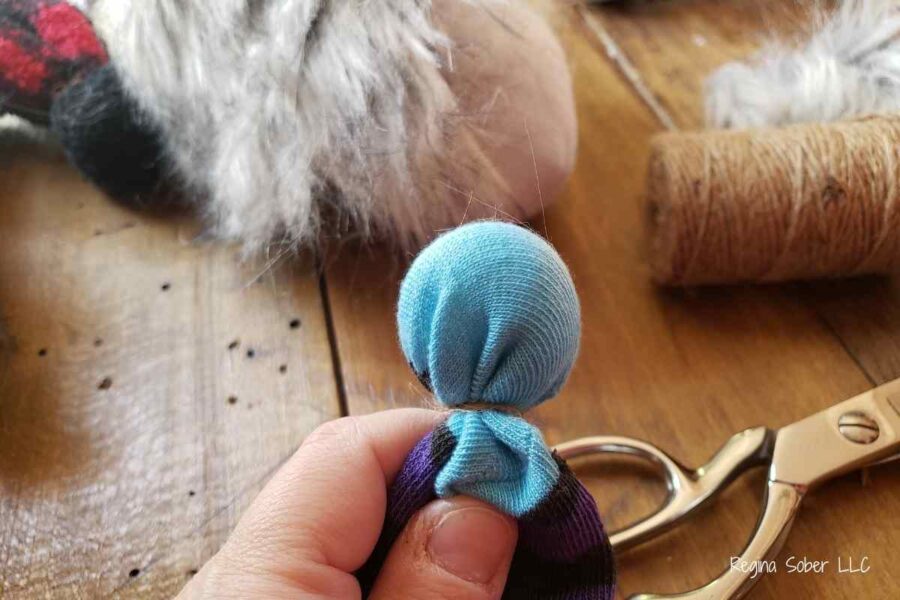
Take the patterned sock and place the reserved stuffing into the toe area. Round it out. Tie string around the toe to secure it. You can use a rubber band first if you prefer.
Step 2. Attach the Hat
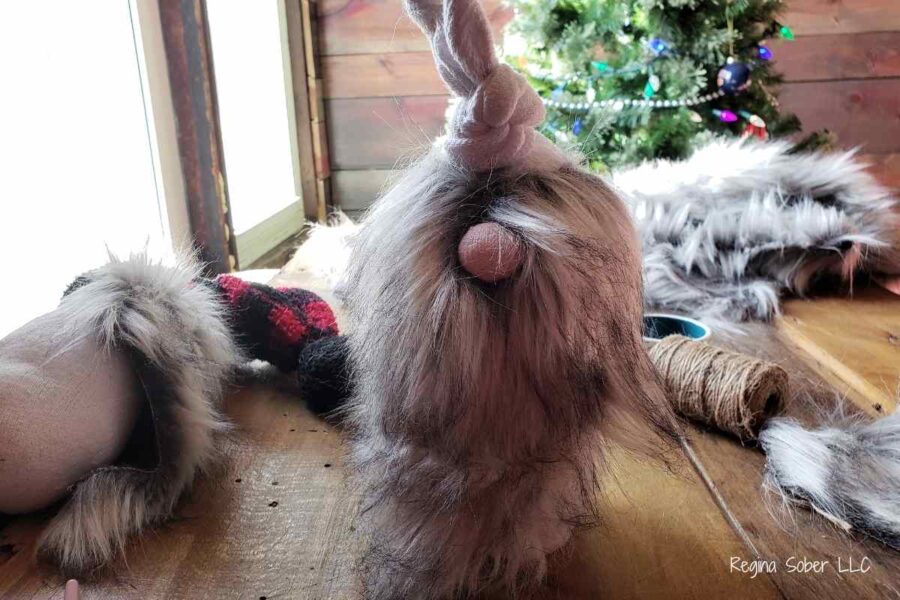
Place the patterned sock over the gnome’s head. Pull it down toward the beard to hide where the eyes would be. Fold the top of the sock upward to create a hat brim. Glue the front and back to keep it in place.
Your holiday sock gnome is ready to display or gift.