
Canning Stewed Tomatoes at Home
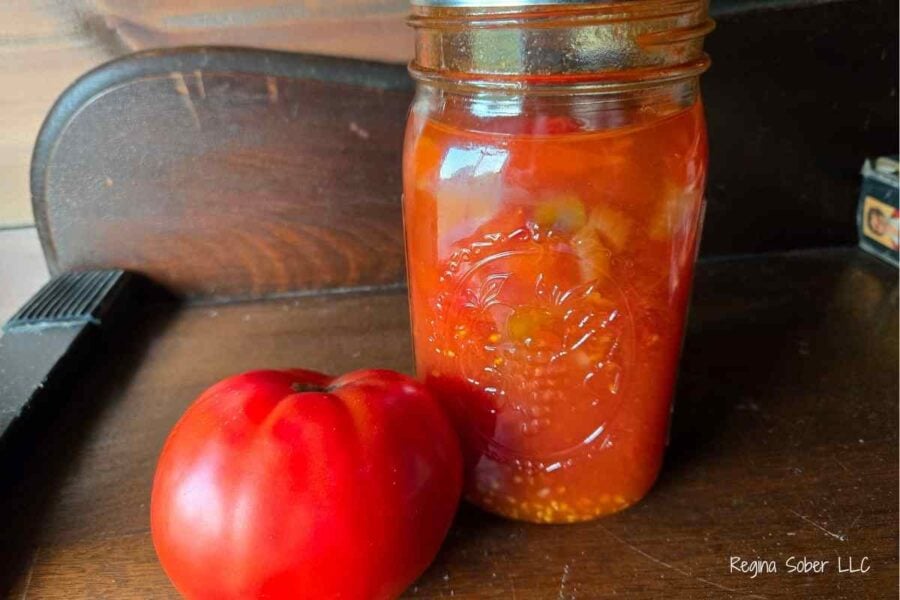
Canning Stewed Tomatoes Recipe
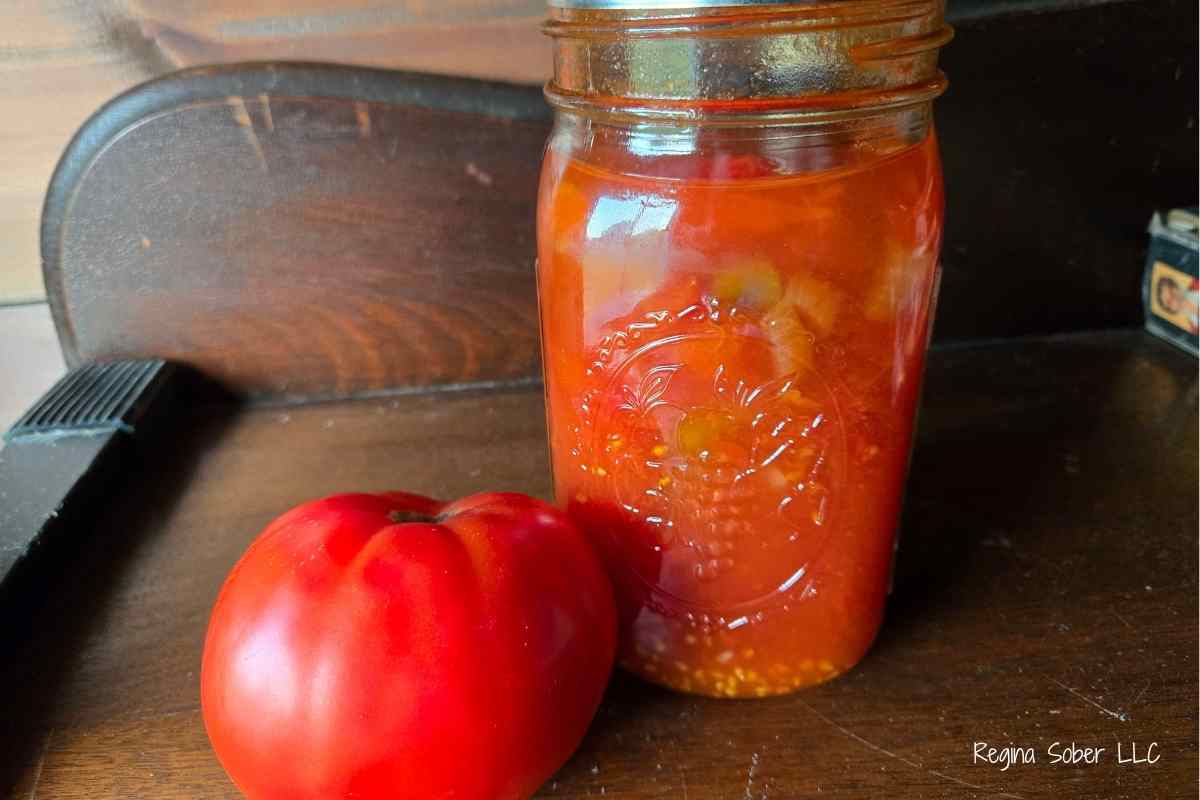
Canning stewed tomatoes takes a little time and patience, but the flavor is worth it. Homemade stewed tomatoes taste fresher and richer, and you know exactly what is in every jar. This recipe walks you through how to can stewed tomatoes with onions and peppers so you can stock your pantry for easy meals all year.
Why We Love Stewed Tomatoes
We use stewed tomatoes in chili, lasagna, cubed steak, spaghetti and so many other dishes. Because the tomatoes, onions and peppers are already cooked, meal prep is faster. With a little effort, you can make enough jars to last the year or even longer.
Best Tomatoes for Canning
You want ripe, red tomatoes for stewed tomatoes. Look for varieties labeled as canning tomatoes.
- San Marzano: best for sauces and paste, not ideal for stewed tomatoes
- Beefeater tomatoes: flavorful but meaty, they do not break down as easily
- Beefsteak, Brandywine, Big Mama: great everyday canning tomatoes
Should You Core Tomatoes Before Blanching
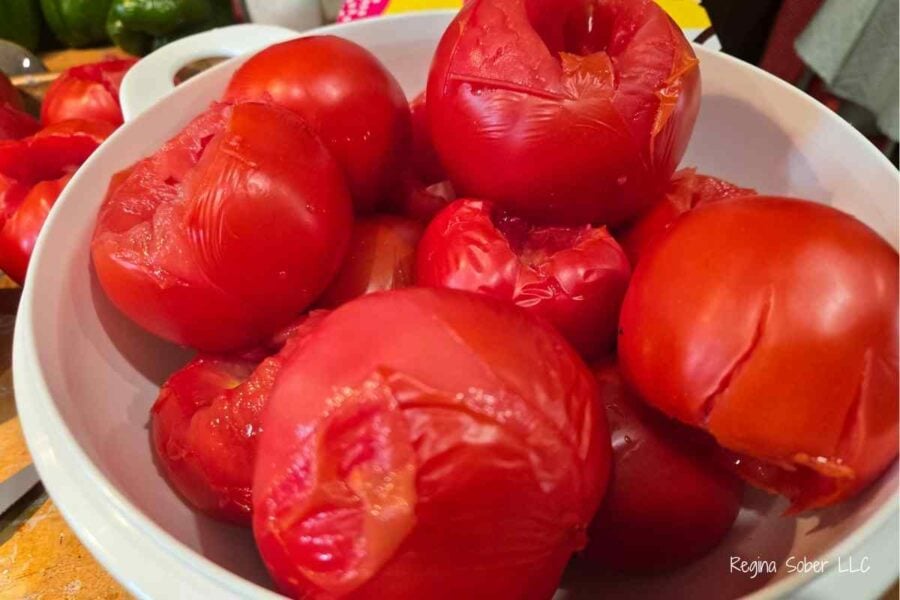
My preference is to core the tomatoes before blanching. They are easier to handle and the core removes cleanly. After blanching, you only need to peel the skin.
If You Blanch With the Core In
You can leave the core in, but make sure the tomatoes cool enough to handle. They will be softer and fall apart easier. So handle gently.
Do Tomatoes Need to Be Ripe
Yes. Tomatoes should be ripe for the best flavor. Any green sections should be cut off before cooking.
Can You Freeze Stewed Tomatoes Instead of Canning
Yes. You can freeze processed stewed tomatoes for up to 6 months. Store them in freezer zip top bags or freezer safe containers. Label the date and contents for easy identification. Consider coring the tomatoes before freezing.
What Makes Tomatoes Stewed
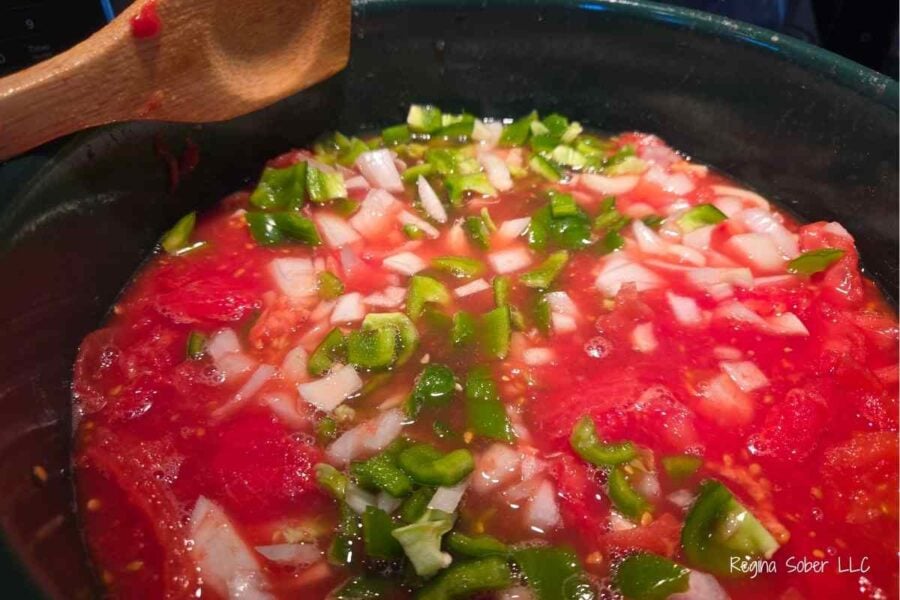
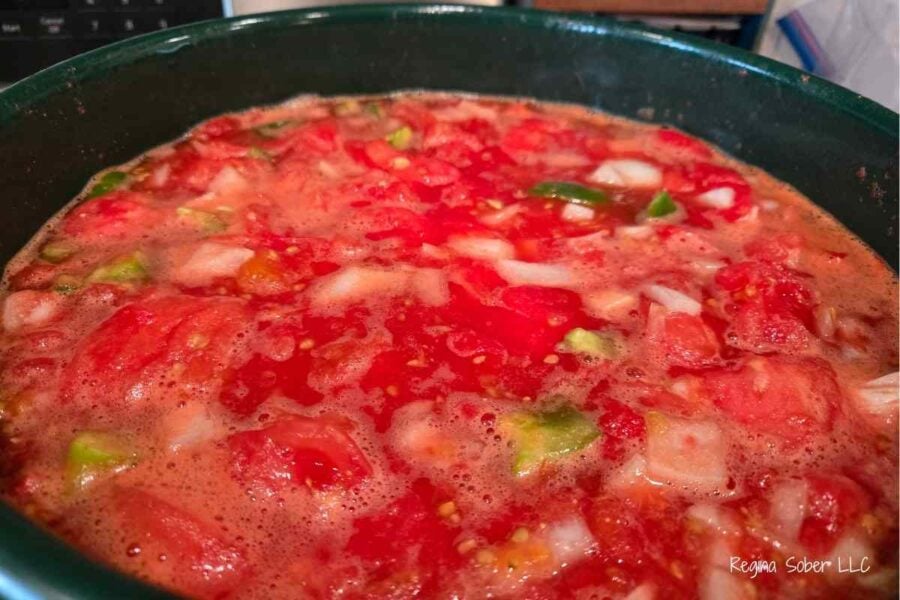
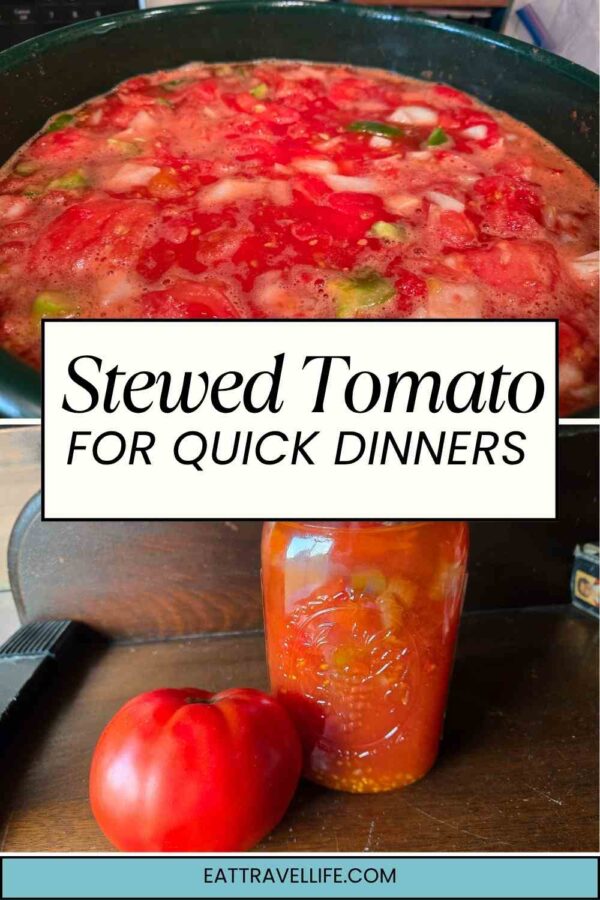
Stewed tomatoes contain peppers and onions along with crushed tomatoes. The vegetables soften during the canning process, which makes recipes quicker because you do not have to cook the veggies separately. Crushed tomatoes do not include vegetables.
Frequently Asked Questions
How long do canned stewed tomatoes last
Properly canned jars last 12 to 18 months in a cool, dark pantry.
Can I add celery or other vegetables
Yes, celery can be added.
Do I need to peel tomatoes
Yes. Blanching makes peeling easy and improves texture.
Can I water bath can stewed tomatoes
No. This recipe follows safe canning practies of Ball and the National Center for Home Food Preservation.. Stewed tomatoes should be pressure canned.
Can I double or triple the batch
Yes. Just keep your ratios consistent so the acidity stays safe.
Canning Stewed Tomatoes (Easy Step by Step Recipe)
Equipment
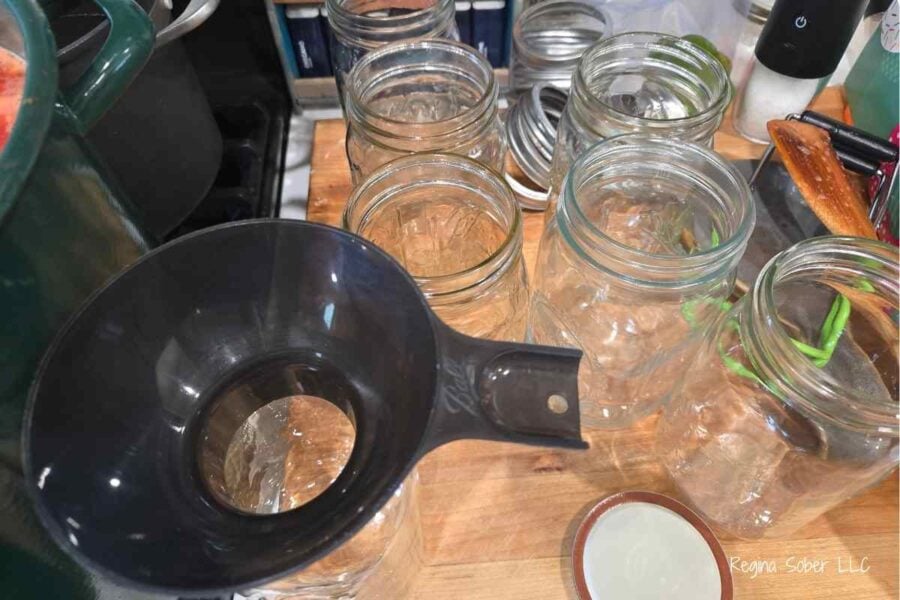
- sterile canning jars
- large pot to cook the stewed tomatoes
Ingredients
- cleaned washed tomatoes
- chopped peppers
- chopped onions
- chopped/diced celery (optional)
Instructions
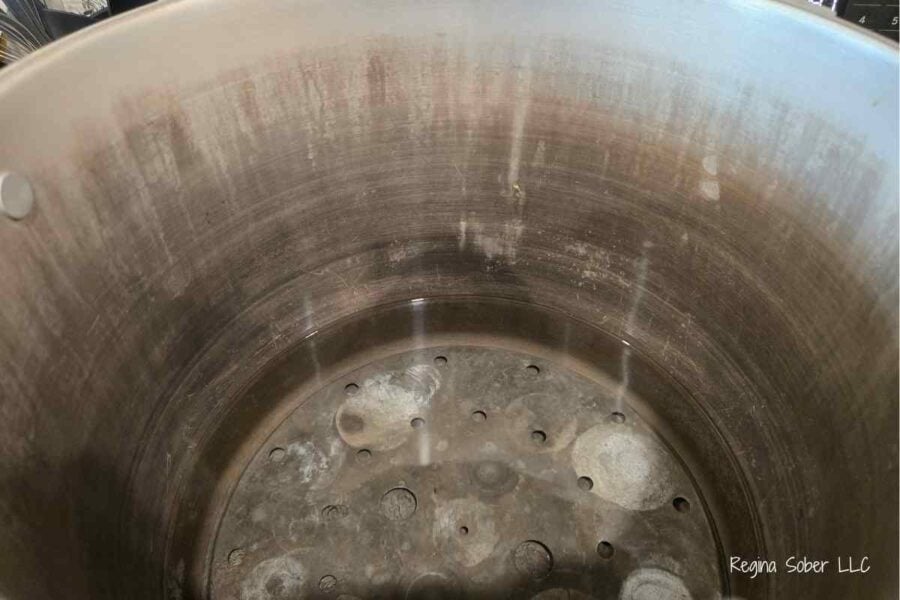
- Prepare your pressure canner, adding 2 inches of water into the bottom of the canner and start to heat the water.
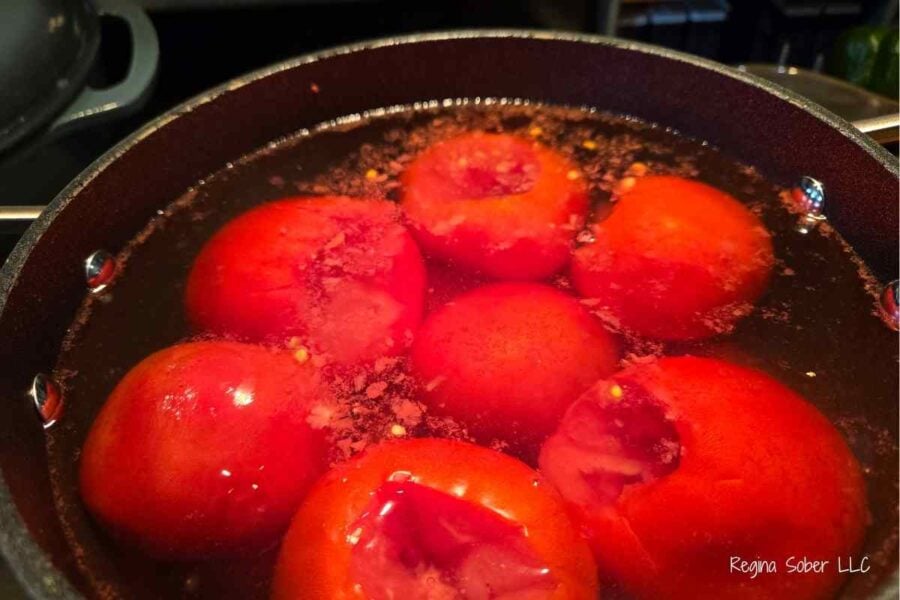
- Blanch the tomatoes using the strainer pot and place in a bowl or another pot (allow to cool, these can be hot!)
- Remove the stem and skin from the tomatoes.
- Cut into half or quarters and place into a 5 quart pot.
- If not already done, chop peppers and onions (and celery) to desired size (I like them small)
- Add in 1 cup of chopped onions and peppers per 5 quarts of tomatoes.
- Stir occasionally and once it’s come to a boil, allow to simmer for 10 minutes, then remove from heat.
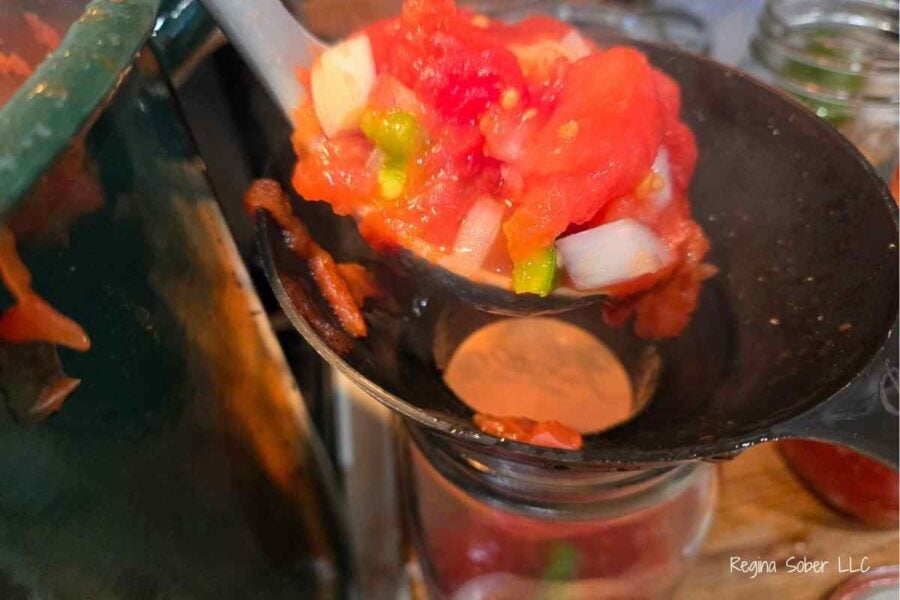
- Fill the jars with the tomato mix, leaving 1 inch head space.
- Clean the top of the jar and place the lid and ring on the jar and hand tighten.
- Place the jars in the pressure canner with hot water. As you fill the canner the water will rise.
- Place the top on the canner and seal it. Allow it to vent for 10 minutes before putting the pressure weight on the canner.
- Allow the canner to reach 10 pounds pressure and the process quarts for 20 minutes and 15 minutes for pints.
- Turn heat off and allow the canner to sit and pressure to release.
- Very carefully remove the top as there will be steam and heat. Flip the canner top away from you to avoid the steam and heat.
- Let the jars set for 5 minutes before removing them from the water.
- Remove the jars from the canner and place on the counter to cool. (we place them on a towel)
- Cover the jars with a towel and let them sit for at least 12 hours.
- Remove the bands and check the jars to make sure the lids are sealed.
- Label and date the jars.
Video

Notes
- Using a towel to put around the jars to cool, keeps any cold drafts from breaking the jars.
- Use a permanent marker to write the date and what type of tomatoes they are (trust me, they will all look the same after a few kinds of tomato canning).
Tips for Pressure Canning Stewed Tomatoes
- Use ripe tomatoes Ripe, red tomatoes give the best flavor and texture. Cut off any green spots before cooking.
- Core before blanching Coring first makes peeling easier and keeps the tomatoes from falling apart as much.
- Keep vegetable sizes consistent Even cuts help the onions and peppers cook evenly and keep the texture balanced in the jar.
- Do not skip the cook step Stewed tomatoes need to be cooked before pressure canning so the vegetables soften properly.
- Use the correct headspace Follow the recipe’s headspace exactly. Too much or too little can affect sealing.
- Check your canner venting time Let the canner vent fully before bringing it up to pressure. This helps ensure safe processing.
- Let jars cool naturally Do not rush the cooling process. Leave jars undisturbed for 12 to 24 hours for the best seal.
- Label your jars Write the date and contents on each jar. Pressure canned stewed tomatoes store well for 12 to 18 months.
- If you are new to canning, read our tips for getting started.
Try Our Other Canned Tomato Recipes
- Crushed Tomatoes
- Stewed Tomatoes
- Tomato Sauce with Basil
- Tomato Sauce with San Marzanos
- Tomato Basil Sauce with Garlic
- Tomato Juice
- Tomato Powder
- Whole Plum Tomatoes



I’ve never heard of covering the jars with water for a pressure canner, only in water bath canning. I’m confused.
Good catch. Thank you. You put in about 2 inches of water and the rise up the jars. They do not need to be covered. I’ve updated the instructions.
Recipe sounds good, how do you print the recipe out.
Hi Beverly, thanks for reaching out. I had stopped using a form to put recipes in as it was an ordeal several years ago. But you inspired me and I’ve tried out a new one. Take a look at the recipe now and let me know if you are able to print. Have a good day, Regina.
Are you pressure canning or water bath ?
Pressure canning. You cannot get pressure with water bath canners.
I am pinning this for sure! We always have SOOOOOO many tomatoes from our garden each year that many get wasted. This is a great way to stretch our dollar and eat fresh non processed food.
Oh canning is the way to go then Katrina! Can’t believe we are talking about gardens in the middle of winter, but you need to plan!