
Canning Chicken Stock Safely at Home
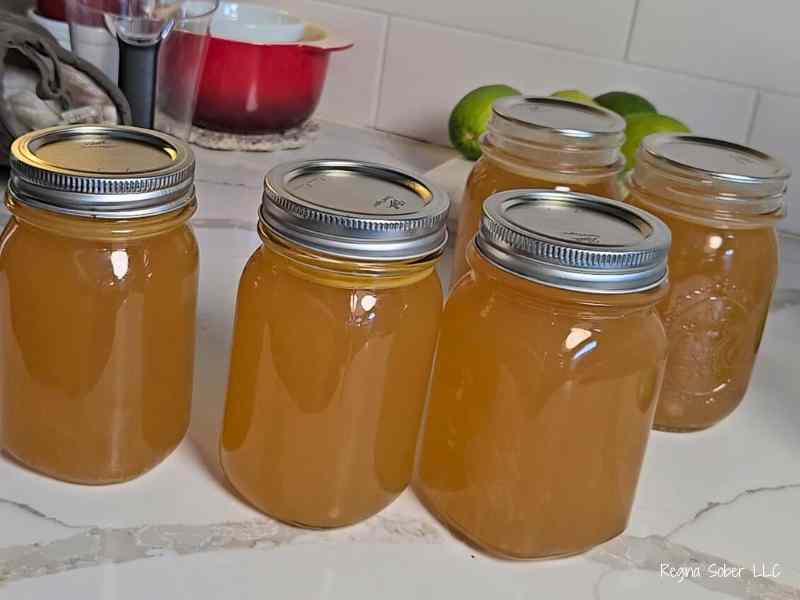
Canning Chicken Stock
You may never want to buy chicken stock again. Canning chicken stock is a pretty easy thing to do after making a whole chicken dinner. If you have an Instant Pot, it will save you hours. Hours in processing!
There are great flavors in chicken stock. When you make it yourself, you can control what vegetables you are using to make the stock. Making it super delicious and flavorful.
If you like to store your food, we have several canning recipes you will want to add to fill your pantry.
How Long Does Chicken Stock Last?
If you are pressure canning chicken stock, it can last in your pantry for 6 months.You don’t need to can a lot at one time. You can freeze your chicken bones until you are ready to make broth to make one batch.
How Long Does it Take To Make Chicken Stock?
. It then takes 20-25 minutes (depending on size of your jars) to process in the pressure canner. This is after the canner gets up to pressure. This does not include the time to make chicken stock.

Are Bone Broth and Chicken Broth the Same?
Bone broth is much more concentrated flavor that contains more protein. Chicken Broth is more for cooking.
What is The Difference Between Chicken Stock and Chicken Broth?
Chicken stock is thicker and made with bones, chicken and veggies. Chicken broth is made with chicken and veggies (no bones).
What Size Canning Jars Do You Need?
Use either quart jars or pint jars to can your chicken stock. Determine which size to can, by the amount you use when cooking.
Should You Strain Your Chicken Stock?
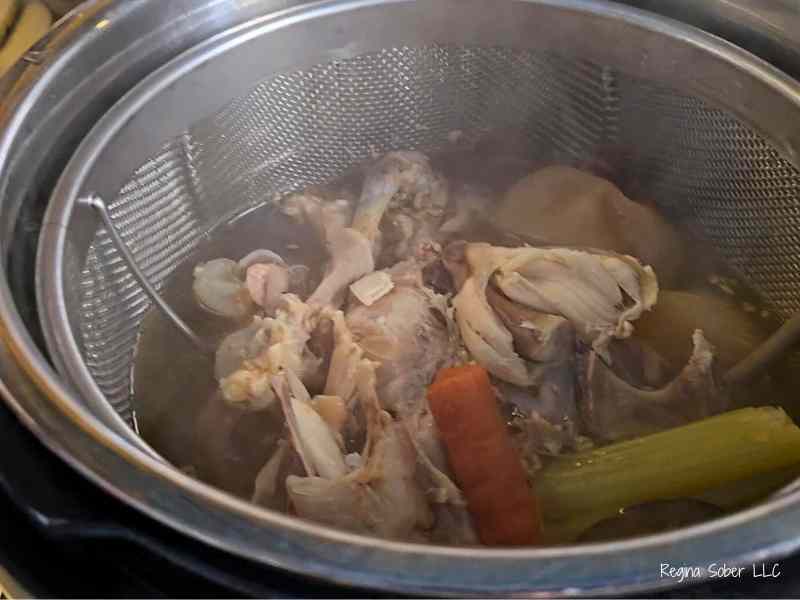
Use the mesh strainer in the Instant Pot for quick straining. You can use a finer strainer when pouring into the jars,
Do You Use A Pressure Canner to Make Chicken Stock?
Chicken stock is not acidic and should be processed in a pressure canner. Long term storage of chicken stock should be pressure canned or frozen in a freezer bag. Short term storage can be in your refrigerator.
How Long Do You Process Jars?
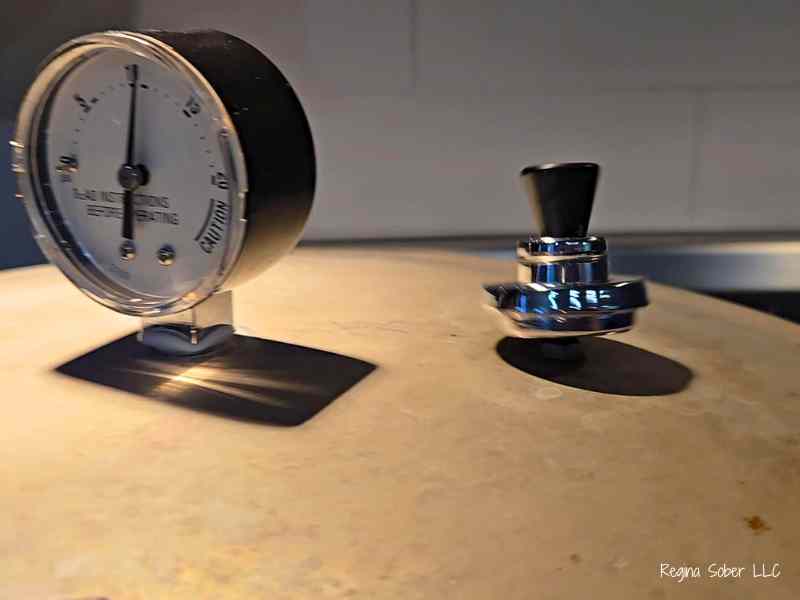
Process the chicken stock for 20 minutes for pint jars and 25 minutes for quart jars in a pressure canner. The weighted gauge pressure canner is at 10 pounds of pressure. We use a Presto Canner to process the chicken stock. The Instant Pot is not made for canning.
How to Can Chicken Stock in Pressure Canner
Equipment
- Pressure canner (not an Instant Pot) for processing chicken stock
Ingredients
To Pressure Can Chicken Stock
- 1 chicken stock from 1 chicken processing
Instructions
Cooking Chicken Bones in Instant Pot
- Follow the instructions here on making the chicken stock.
Canning Chicken Broth in Pressure Canner (not Instant Pot)
- Allow the stock to cool and remove fat from liquid.
- You can also use a fat separator cup and remove the fat, and discard fat.
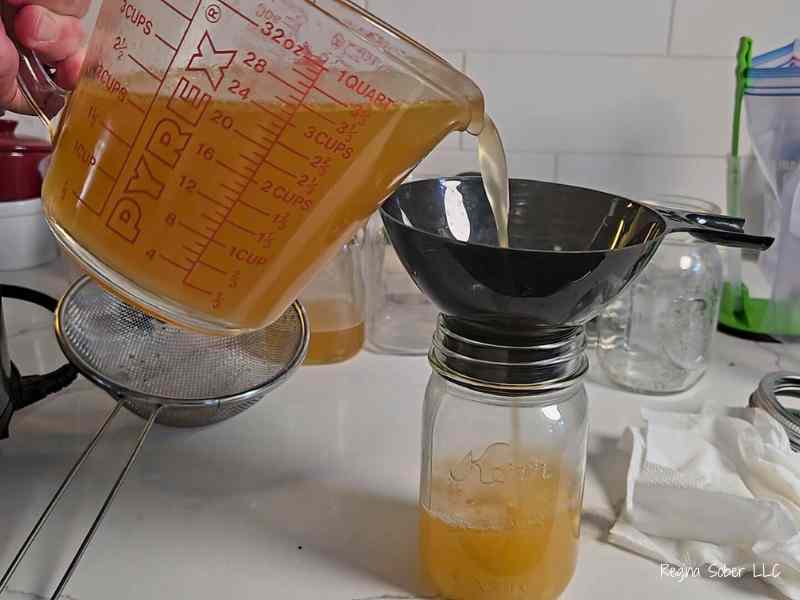
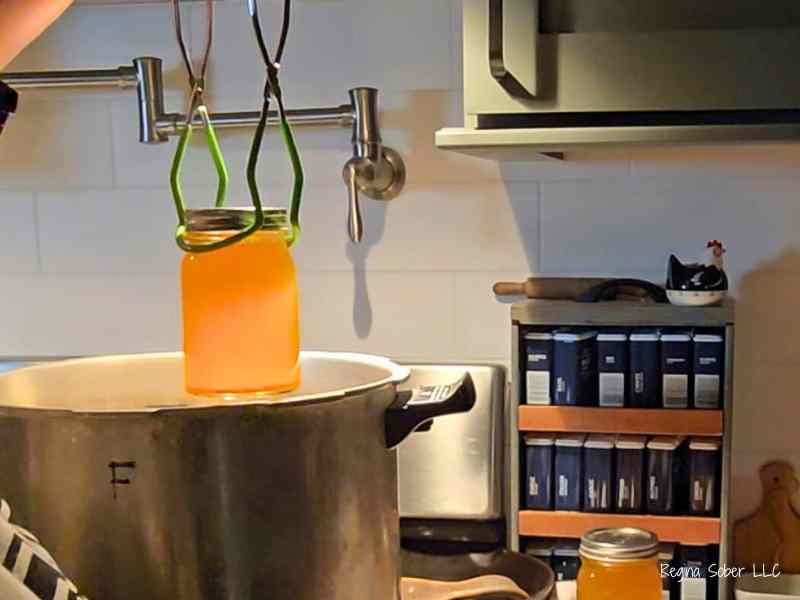
- Use a mesh strainer and place chicken stock into jars.
- Fill the jars, leaving 1" headspace.
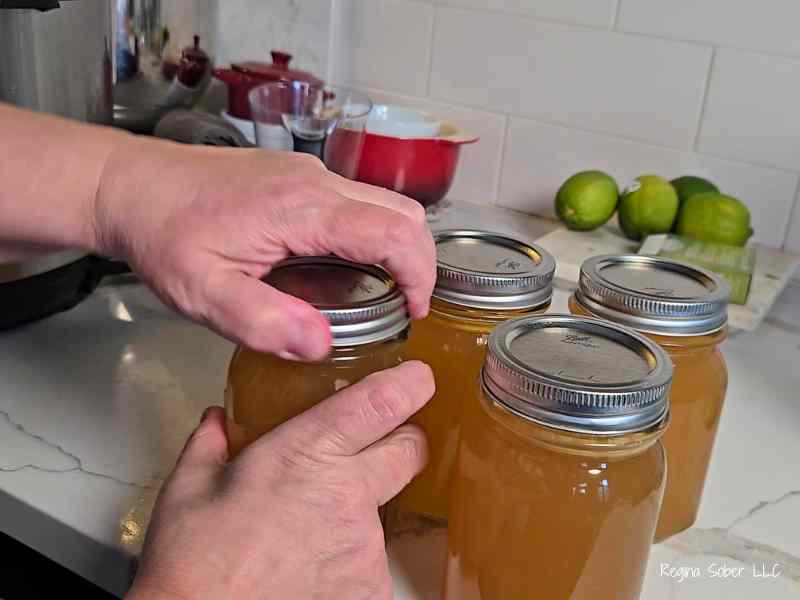
- Wipe rims with a clean sterile towel.
- Place a seal and finger tighten bands on each jar.
- The preesure canner needs at least 2 inches of water for pressure canning. Add more than this to prevent the canner from drying out. I add 4-6 inches deep. Water should be same temp as jars.
- Place jars into pressure canner (We use a Presto Canner. Do not Use Instant Pot for pressure canning)
- Process jars 20 minutes for pints and 25 minutes for quarts at 10 pounds pressure, adjusting to your altitude.
- Allow jars to sit in the canner 10 minutes after pressure has released before removing from canner.
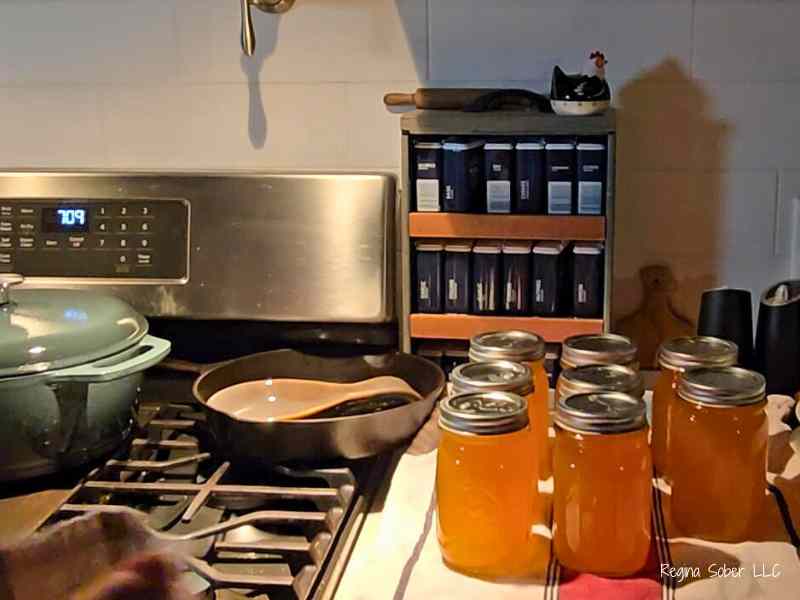
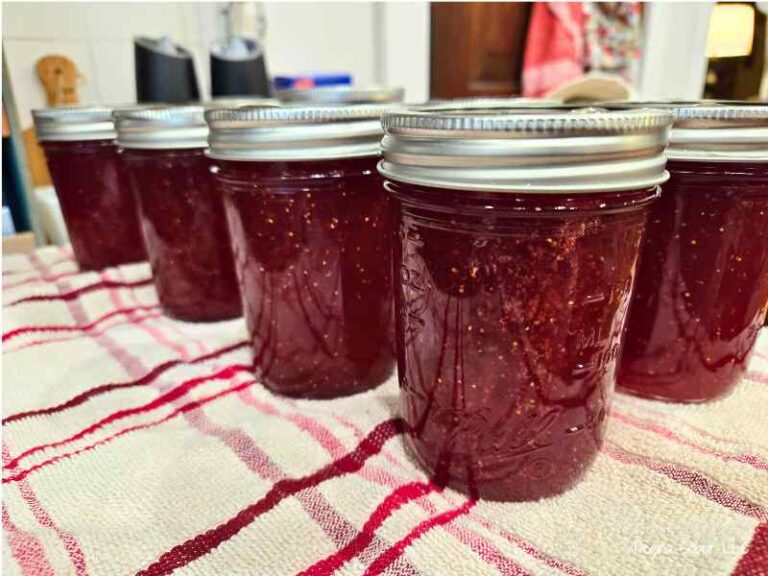
- Place jars on the counter (with a towel under them).
- Cover the jars with a towel to allow them to cool slowly and prevent breakage. Cooling 12-24 hours.
- Check to make sure jars seal. Date and label the jars.
- Remove bands and store.
Video


So, just to be sure, I need to put a couple inches of water into the instant pot after the jars are sitting in it? thanks.
You don’t use the Instant Pot to pressure can the chicken stock. We use a pressure canner by Presto to process our jars. You cannot regulate an Instant Pots pressure to 10 pounds (that I’m aware of). I’ve revised the instructions to be more specific on this. Let me know if you have additional questions.
Easy and beautiful recipe…
Thank you for your kind words. We appreciate letting us know.