How to Brown Butter for Baking and Cooking
Easily Brown Butter
Browned butter is one of those simple kitchen tricks that can make a big difference in your cooking and baking. As butter melts and cooks, the milk solids begin to toast, creating a rich, nutty flavor that adds extra depth to cookies, cakes, frostings, pasta dishes, vegetables, and more.
The first time we made browned butter, we were surprised by how much flavor developed from a single ingredient. It only takes a few extra minutes, but the result is well worth the effort. Once you learn how to make browned butter, you’ll find yourself reaching for it again and again.
Why You’ll Love It
- Easy way to add rich, nutty flavor to your favorite dishes
- Simple to make ahead of time
- Perfect for baking recipes and savory dishes
- Only requires one ingredient
- Makes ordinary recipes taste homemade and gourmet
What You’ll Learn
- How to make browned butter from scratch
- How to tell when browned butter is finished
- Common mistakes that can cause butter to burn
- The best pans to use when browning butter
- How to store browned butter for later use
What Is Browned Butter?
Browned butter, sometimes called brown butter, is butter that has been cooked long enough for the milk solids to turn golden brown. During the cooking process, moisture evaporates and the milk solids toast, creating a deep, nutty flavor and aroma.
While regular melted butter tastes rich and creamy, browned butter develops a caramel-like flavor that can elevate both baking and cooking.
Ingredients Needed:
- Butter , salted or unsalted
We typically use salted butter because that’s what we keep on hand, but unsalted butter works just as well.
Equipment You’ll Need
- Light-colored saucepan or skillet
- Wooden spoon or silicone spatula
- Heat-safe container for cooling
A light-colored pan makes it much easier to monitor the color of the butter and helps prevent accidental burning. We make it with our regular cookware.
How to Tell When Brown Butter Is Done
Many people worry about burning the butter, but there are a few signs to watch for:
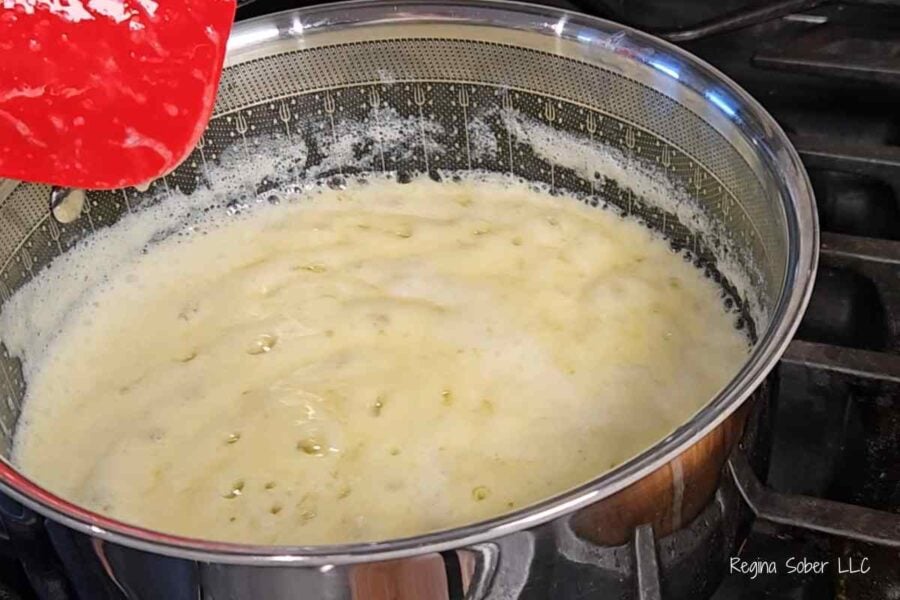
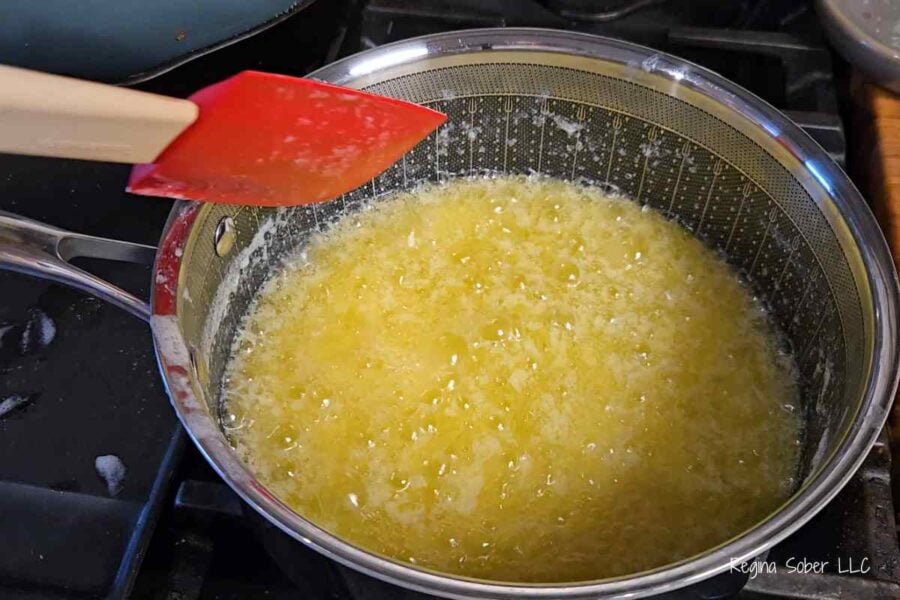
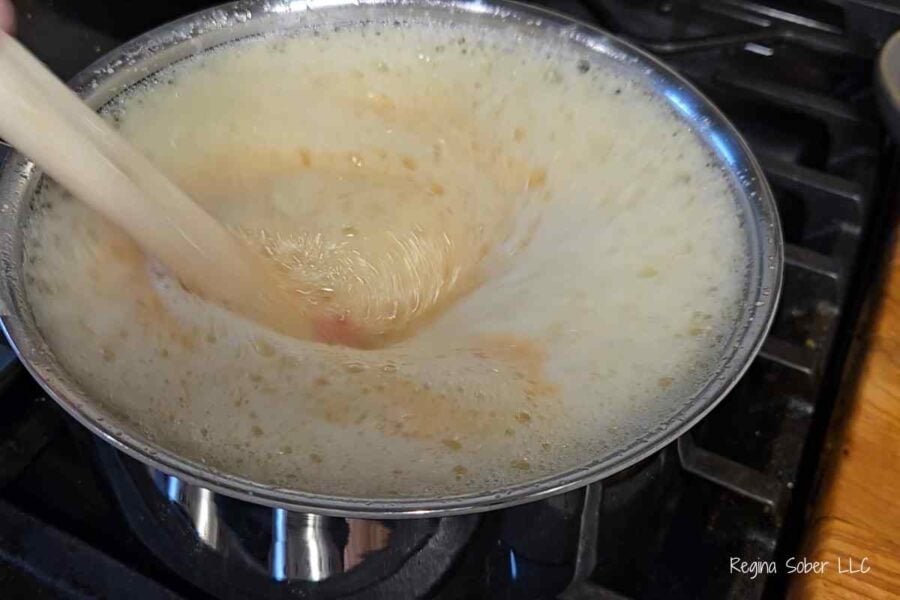
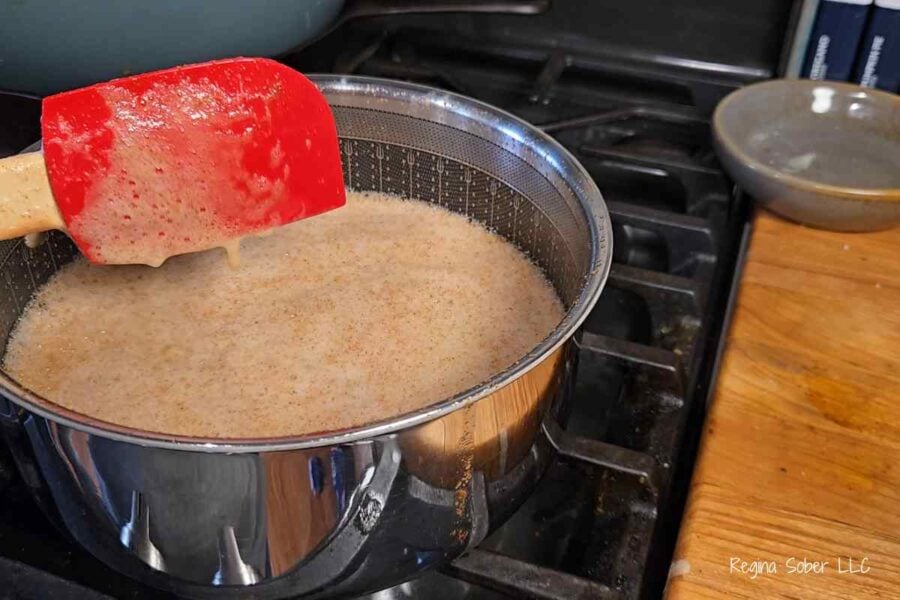
- The butter will foam heavily as it cooks.
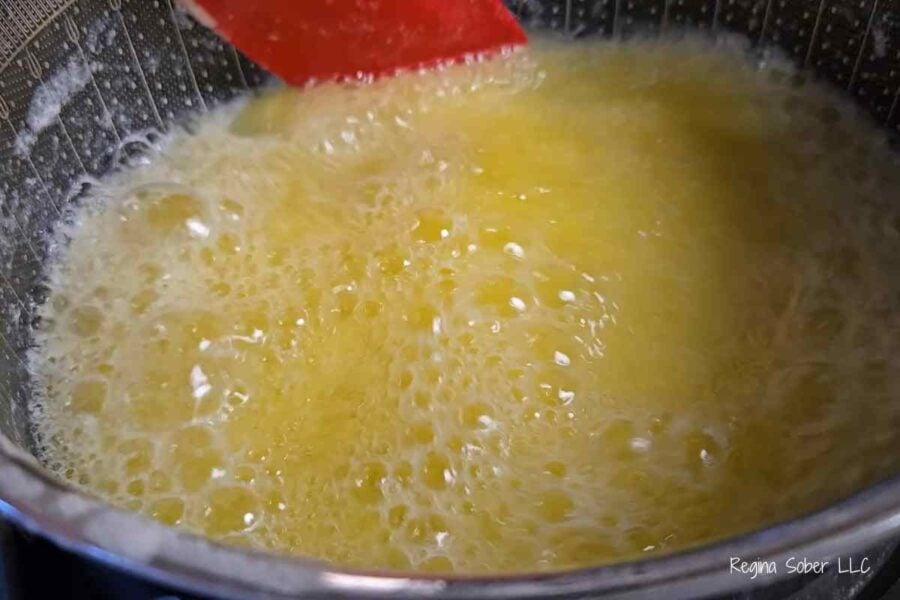
- The bubbling will begin to slow down.
- Small brown specks will appear on the bottom of the pan.
- The butter will turn a golden amber color.
- You’ll notice a rich, nutty aroma.
Remove the pan from the heat as soon as these signs appear because the butter will continue cooking from the residual heat.
Helpful Tips for Success
Use a Large Pan: Butter expands and foams significantly during cooking. A larger pan helps prevent spills and makes stirring easier.
Don’t Walk Away: Browned butter requires attention during the final minutes. What takes several minutes to brown can take only seconds to burn.
Keep the Brown Bits: Don’t strain out the browned milk solids. Those little bits contain a lot of the flavor that makes browned butter so special.
Allow It to Cool: If you’re using browned butter in baking recipes, many recipes require it to cool before mixing with other ingredients.
Common Mistakes to Avoid
Cooking Over High Heat: High heat increases the chance of burning the milk solids before they have time to develop flavor.
Using a Dark Pan: Dark cookware can make it difficult to see when the butter is changing color. If a dark pan is all you have, stir often and watch carefully.
Leaving Butter in the Hot Pan: Even after removing it from the burner, the pan remains hot enough to continue cooking the butter.
Discarding the Browned Milk Solids: Those toasted bits are the source of the rich nutty flavor you’re trying to achieve.
Storage
- Allow the browned butter to cool completely before storing.
- Store in an airtight container in the refrigerator for up to 1 week.
- For longer storage, freeze browned butter for up to 3 months. Thaw in the refrigerator before using.
Frequently Asked Questions
Can I use salted or unsalted butter?
Yes. Either type works well for making browned butter. Use whichever you typically keep in your kitchen.
How long does it take to make browned butter?
A pound of butter usually takes about 12 to 15 minutes, although the exact time can vary depending on your pan and stove.
Why did my browned butter burn?
Butter can go from browned to burnt very quickly. High heat, leaving it unattended, or not removing it from the hot pan soon enough are common causes.
Can I make browned butter ahead of time?
Yes. Browned butter stores well in the refrigerator and can easily be made several days in advance.
Why is there less butter after browning?
As butter cooks, some of its water content evaporates. This means you’ll end up with slightly less volume than when you started.
Can I use browned butter in cookies?
Absolutely. Browned butter is especially popular in cookie recipes because it adds a deeper, richer flavor. Some bakers add a few teaspoons of milk back into the dough to replace some of the moisture lost during browning.
How to Make Browned Butter (Easy Step-by-Step Method)
Equipment
- heat safe container
Ingredients
- butter salted or unsalted
Instructions
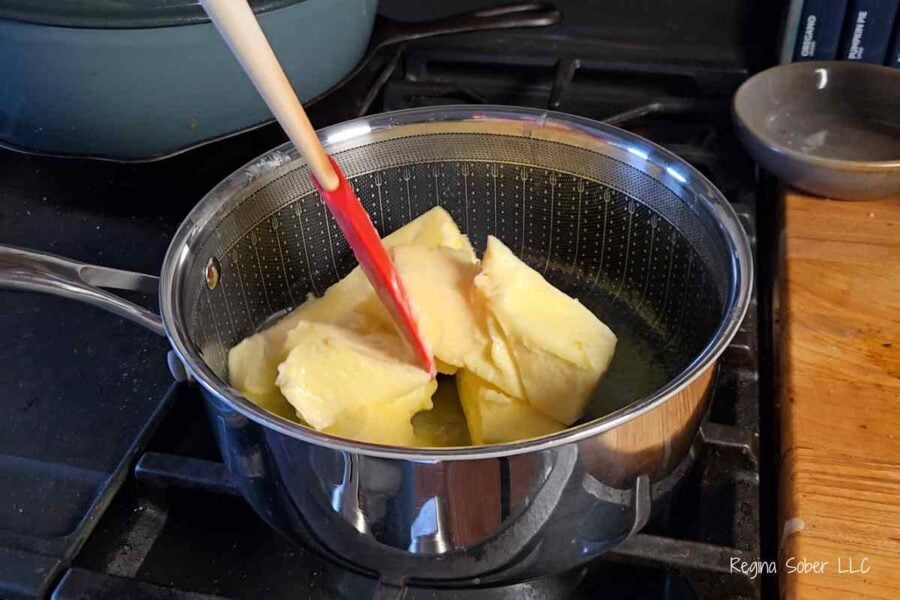
- Place the butter in a large saucepan over medium heat.
- As the butter melts, it will begin to bubble and foam. If you’re making a full pound of butter, use a larger pan than you think you’ll need because the butter can foam up quite a bit.
- Keep the butter cooking over medium heat, stirring occasionally.
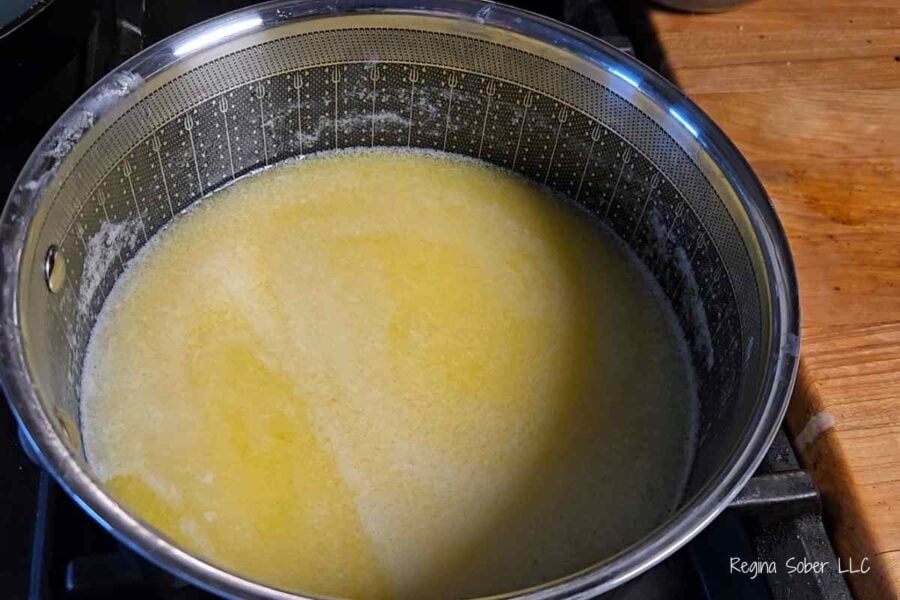
- The butter will go through several stages, melting,foaming, bubbling vigorously,beginning to clear as moisture evaporates
- At this point, stay close to the stove. The transformation happens quickly.
- As the bubbling starts to slow, you’ll notice small brown specks forming on the bottom of the pan.
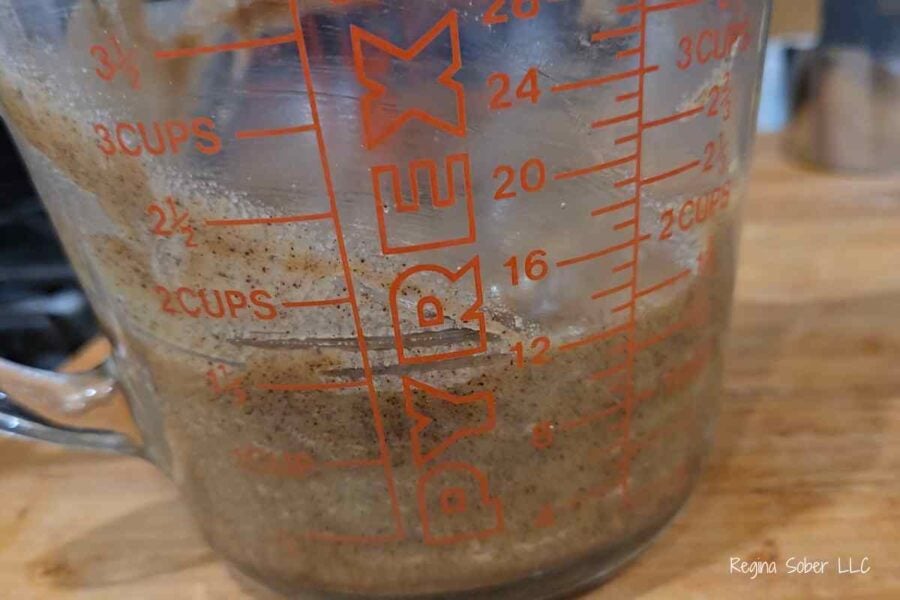
- These browned milk solids are where much of the flavor comes from.
- The butter will change from yellow to a beautiful golden amber color, and you’ll begin to smell a rich, nutty aroma.
- Once the butter reaches a golden brown color, immediately remove it from the heat.
- Do not leave it in the hot pan longer than necessary. The residual heat will continue cooking the butter and can quickly turn it from perfectly browned to burnt.
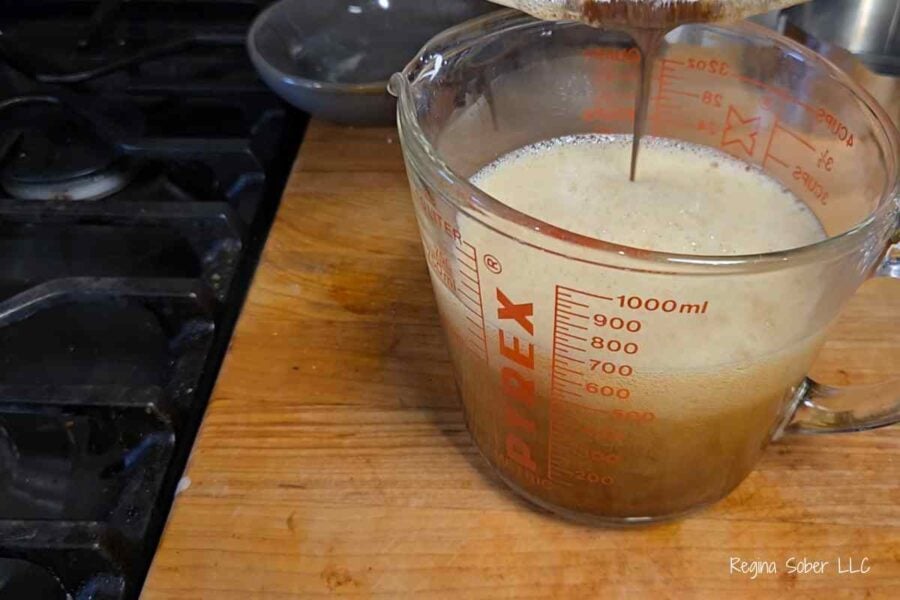
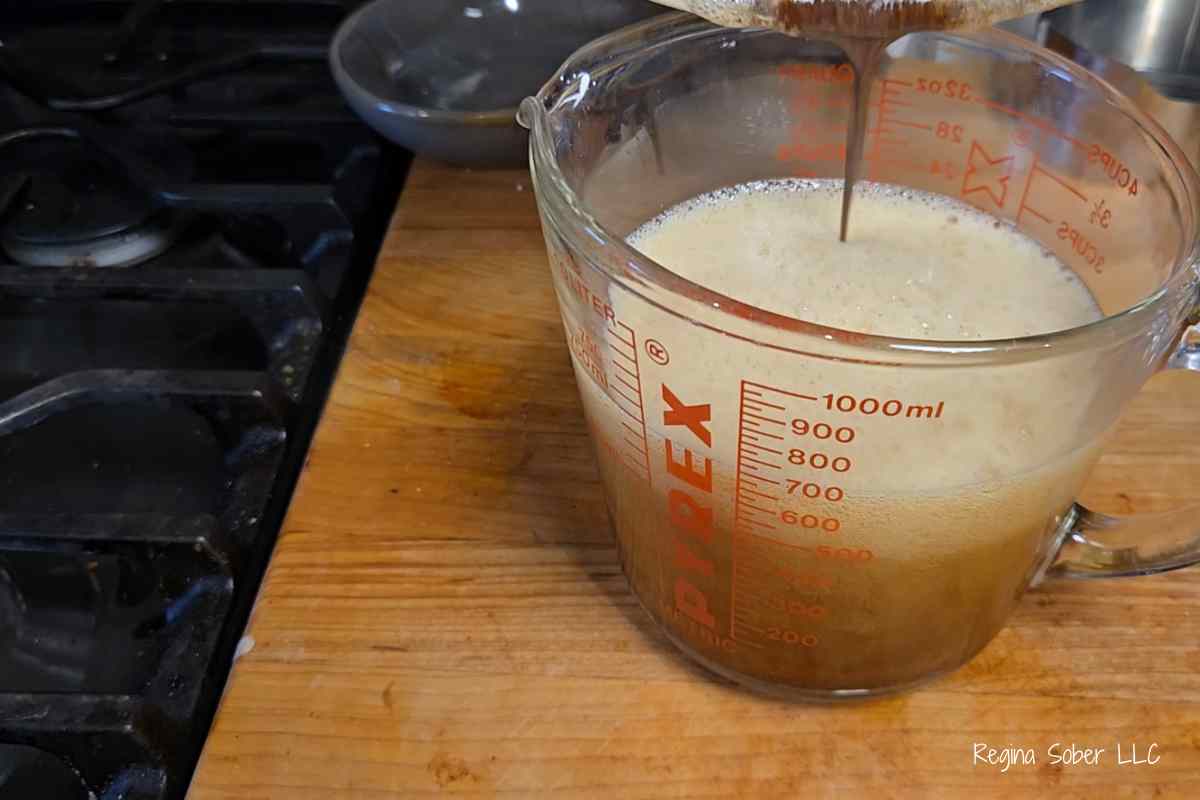
- Transfer it to a heat-safe bowl to stop the cooking process.
Video