Canning Raspberry Jam Like Grandma Did – But Easier
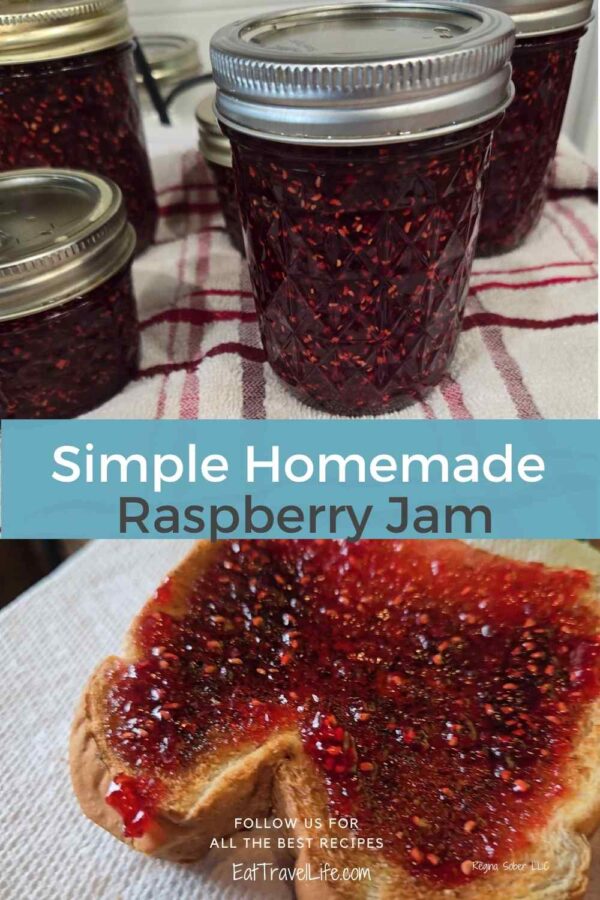
Raspberry Jam Canning Recipe
Raspberry jam is one of my favorite jams. Taking fresh berries and turning them into a delicious spread on toast or into hand pies. With just four ingredients, you can make your own jars of lovely jam.
And if you love jam,we have several different kinds we have canned over the years. You just might find a new family favorite.
Can You Use This Recipe for Black Raspberries?
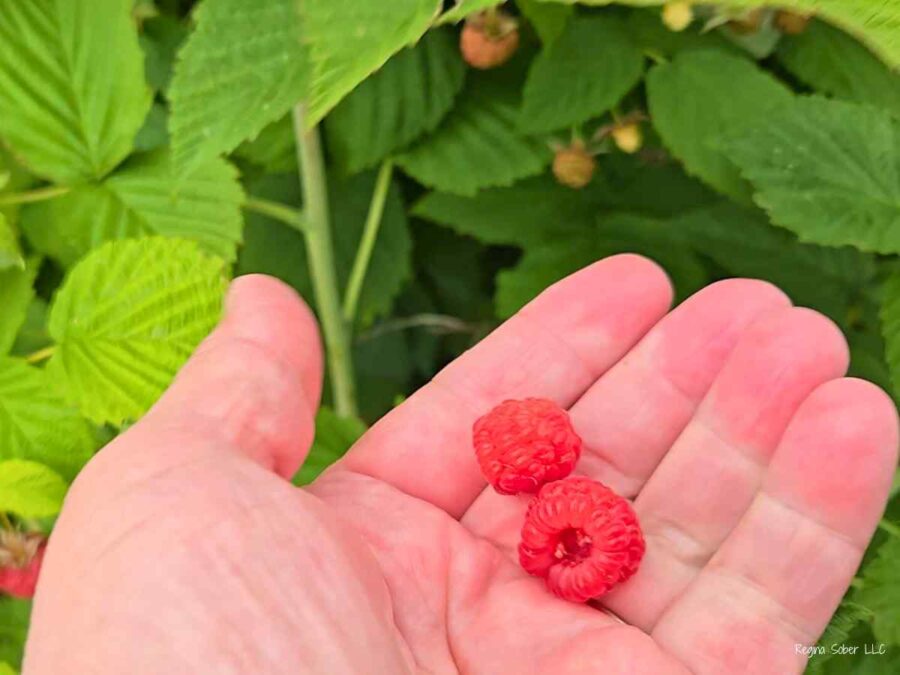
We use this recipe for black or red raspberries. Pick lots of black raspberries. They are smaller than red raspberries, so you will need more for that delicious jam.
Does Homemade Raspberry Jam Need to Be Canned?
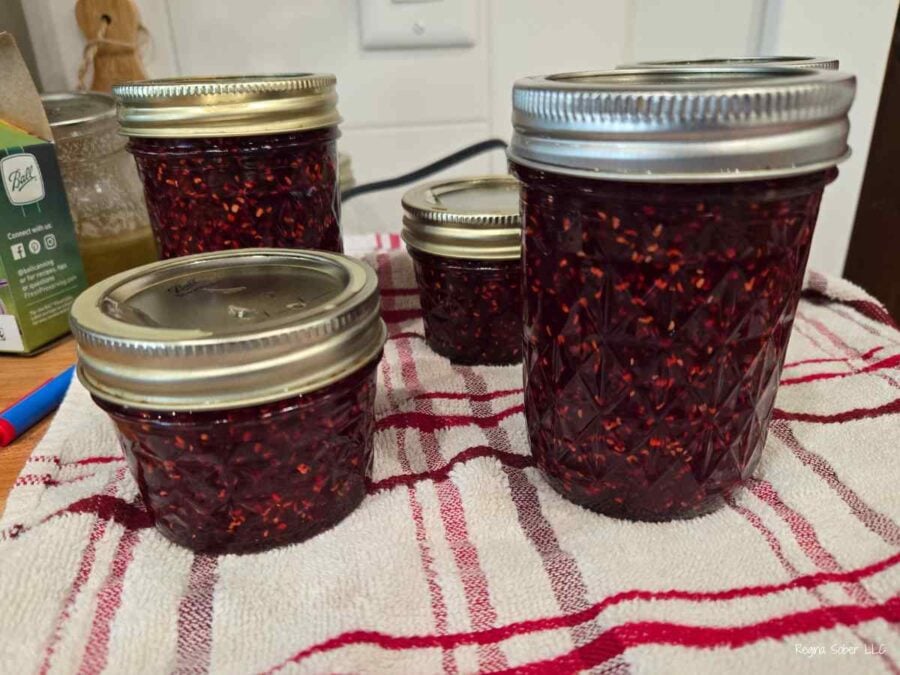
Jam should be water bath canned after it has been processed. This allows you to store it outside of the refrigerator for later use.
If you are going to store the jam directly in the refrigerator, you do not need to can it. But all the jars would need to go into the fridge.

How Do You Keep Jam from Foaming?
We use 1/2 teaspoon of butter. This reduces or stops the jam from needing to have foam skimmed off.
Why Is My Jam Runny?
There are many reasons why your jam may not have set.
The jam could have been processed to long. The measurements for sugar and berries could be incorrect. Not enough pectin used and making multiple batches at one time.
You can try to save the jam by heating up again and bringing to a boil quickly. Then place in jars again and water bath can. You will need to use new seals.
Can You Can With Frozen Raspberries?
Yes. You will need to thaw the fruit in order to begin canning with the jam/jelly maker as is time is based on thawed fruit.
Do I Need Lemon Juice?
This recipe does not need lemon juice.
Easy Raspberry Jam Recipe
Equipment
Ingredients
- 3 1/2 cups sugar
- 5 cups crushed red raspberries 5-6 six ounce packages from store
- 1/2 teaspoon butter
- 3 Tablespoons pectin
Instructions
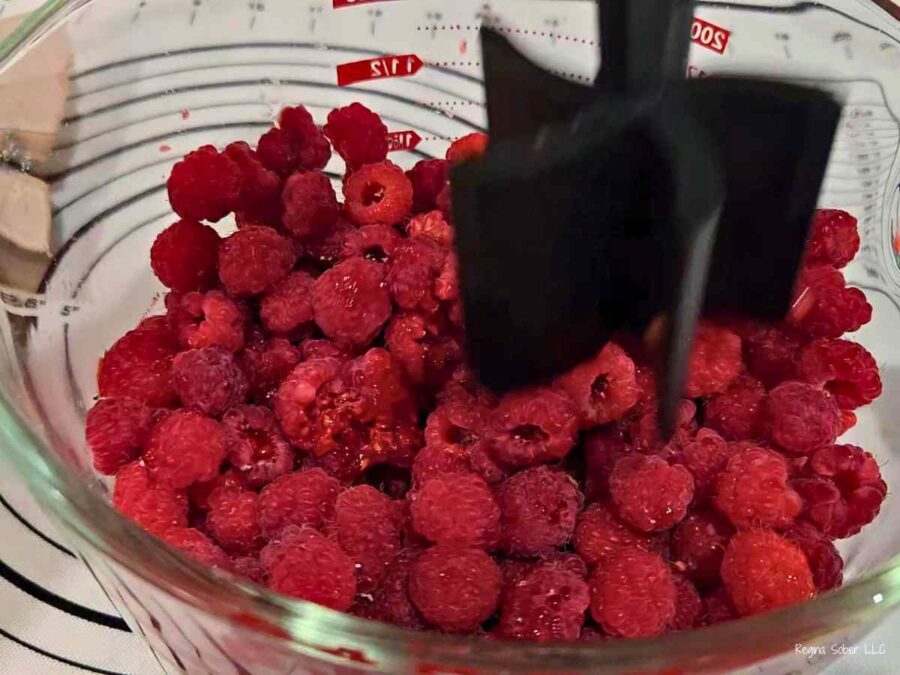
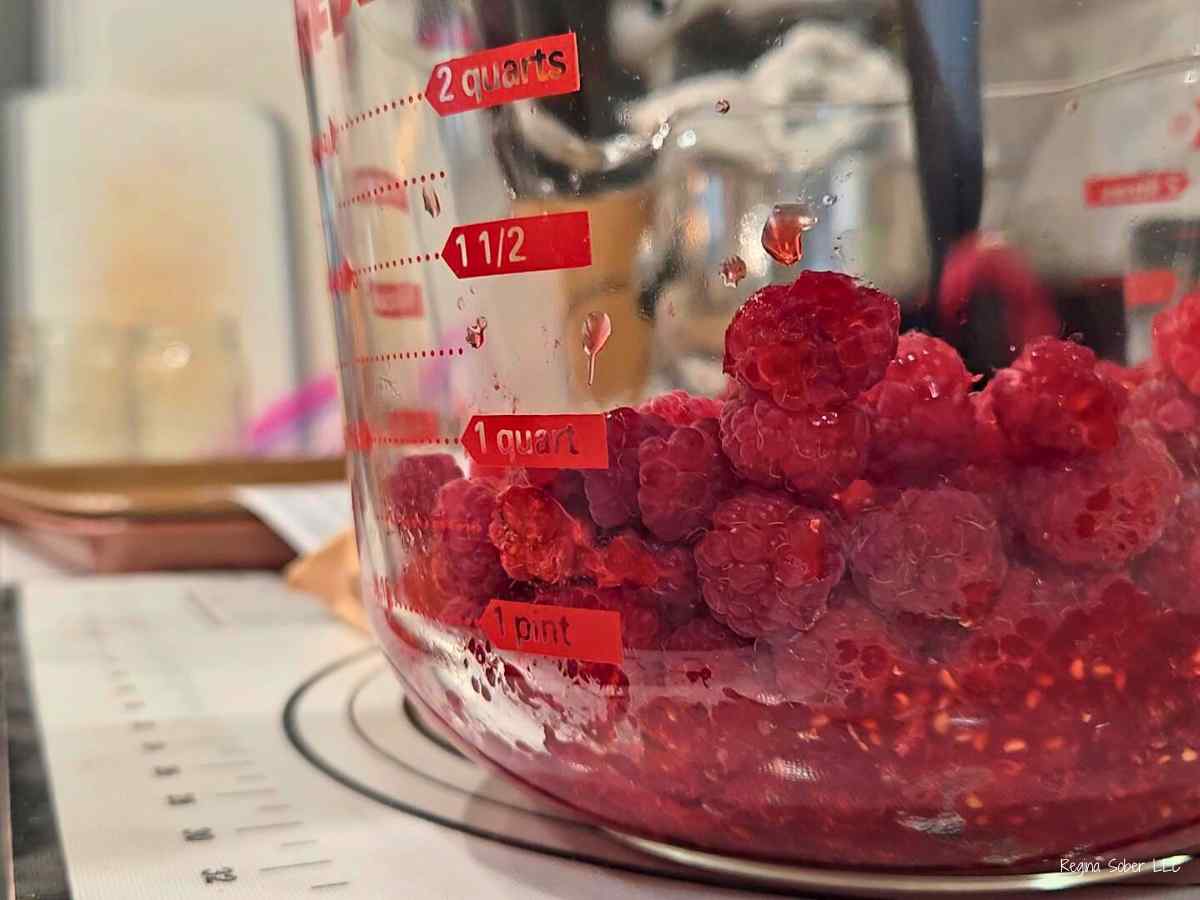
- Take your raspberries and crush them using a potato masher or fork. Measure your raspberries based on the crushed volume for this recipe.
- Fill your water bath canner full and heat up the water while making the jam.
- Place the raspberries into a dutch oven on high heat and add the butter.
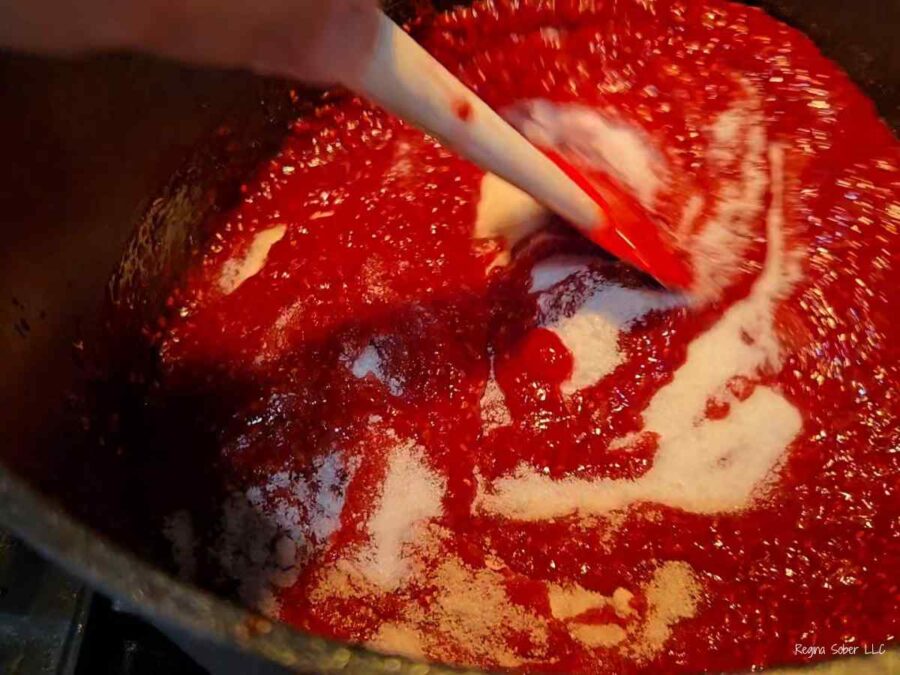
- Bring the berries to a boil while stirring and keeping the berries from burning.
- Once the mix is at a rolling boil (a boil you cannot stir down, add the sugar.
- Ensure the seals and jars are ready to go and that you have the funnel, ladle and bands.
- You will also want to have a wet sterile paper towel to clean the rim of the jars after filling.
- Stir the mix and bring back to a rolling boil.
- Once the jam reaches a boil, continue stirring for 1 minute and then remove from the heat.
- Begin filling each jar with the ladle and jar funnel. Leave 1/4 inch headspace (that is top from the jar) when filling.
- Clean off each jar rim to ensure there is no jam to keep the jar from sealing.
- Place a sterile seal/lid on top of each jar and hand tighten the band over the jar to secure the lid.
- Place the jars of jam into water bath and process for 10 minutes..
- After 10 minutes, turn off the heat and let the jars sit for 5 minutes before removing.
- Remove from the water bath and allow to cool and seal.
- Date and label the jars, so you know what it is.
Video

Notes
Tips for canning raspberry jam
- Want to use less sugar, use 3 1/4 cups berries and 2 cups sugar instead
- Do not over fill the maker, make 1 batch and watch how far it boils up, before doubling the batch
- Make sure you measure the berries crushed and not whole, or you will not have the correct ratios to make jam
- While the raspberry jam is processing, get everything around you need for the next steps
- It takes about 30 minutes (or so) to make a batch of jam
- Wash your berries before you start
- Adding butter helps reduce the foaming, you may need to skim foam if there is still foam
- You absolutely need a pot holder to remove the stirrer, that area is hot, so use caution!
- The maker is going to be hot as well, it was just holding the ‘pot’ of hot jam, so unplug and allow it to cool
- Use to make raspberry rolls