How to Can Chicken Stock in Pressure Canner
This pressure canning chicken stock guide walks you through safe, simple steps to turn leftover bones into pantry-ready stock.
Servings: 4 pints
Equipment
- Pressure canner (not an Instant Pot) for processing chicken stock
Ingredients
To Pressure Can Chicken Stock
- 1 chicken stock from 1 chicken processing
Instructions
Cooking Chicken Bones in Instant Pot
- Follow the instructions here on making the chicken stock.
Canning Chicken Broth in Pressure Canner (not Instant Pot)
- Allow the stock to cool and remove fat from liquid.
- You can also use a fat separator cup and remove the fat, and discard fat.
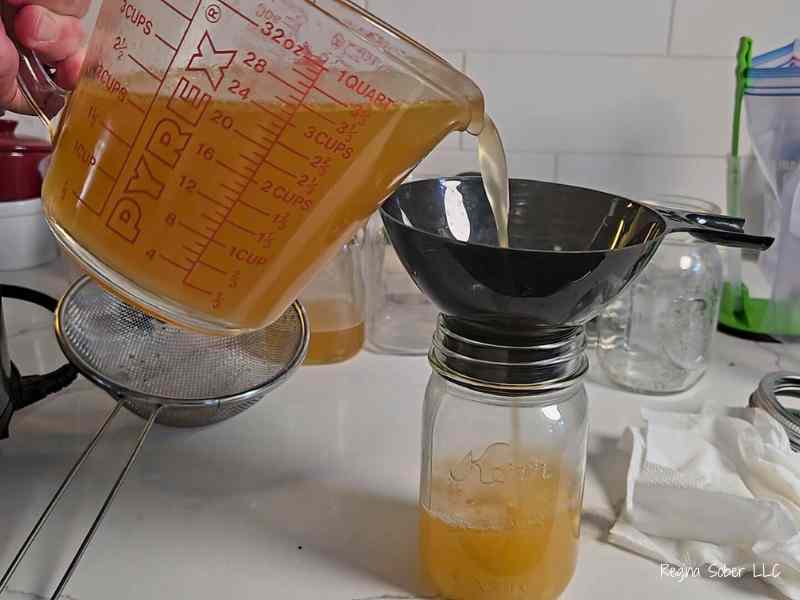
- Use a mesh strainer and place chicken stock into jars.
- Fill the jars, leaving 1" headspace.
- Wipe rims with a clean sterile towel.
- Place a seal and finger tighten bands on each jar.
- Prepare your pressure canner, adding 2 inches of water into the bottom of the canner and start to heat the water.
- Once the water is hot in the pressure canner, place jars into pressure canner (We use a Presto Canner. Do not Use Instant Pot for pressure canning)
- Process jars 20 minutes for pints and 25 minutes for quarts at 10 pounds pressure, adjusting to your altitude.
- Allow jars to sit in the canner 10 minutes after pressure has released before removing from canner.
- Place jars on the counter (with a towel under them).
- Cover the jars with a towel to allow them to cool slowly and prevent breakage. Cooling 12-24 hours.
- Check to make sure jars seal. Date and label the jars.
- Remove bands and store.